Shooting on instant film is great but what if you could produce a negative from it….. With just some household supplies you can make beautiful negatives from the Fujifilm FP-100C peel apart film by simply bleaching them. Michael Ash Smith a fantastic commercial, wedding, portrait, and lifestyle photographer situated out of Barto, PA was able to share with us how this process is done:
A lot of people have asked me how to obtain a usable negative (to scan) from 100C instant film and I helped write up a tutorial on the Snap It See It blog (a blog designated towards instant film) a while back as well as sharing it on my own blog, with a step to step guide of how to produce beautiful negatives from your instant Fujifilm peel apart film.
Here is my process (some people do it differently however its usually pretty close) on how to bleach a 100C negative:
Above are the necessary tools to complete the bleaching process:
1. Gel bleach. Try to find the straight gel bleach – the one without any “cleaner” added. Its plain bleach gel. I don’t recommend using liquid bleach or anything else “bleach” worthy like a magic eraser. I’ve tried everything and this stuff works the best.
2. Painters tape. It doesn’t matter what brand you use but I recommend painters tape or masking tape as it comes up easier.
3. Paper towels.
4. A bowl (with warm water in it).
5. Clothespins on a line/string (to hold the negatives to dry).
6. Plexiglass, glass or some type of smooth hard surface to tape the negatives to.
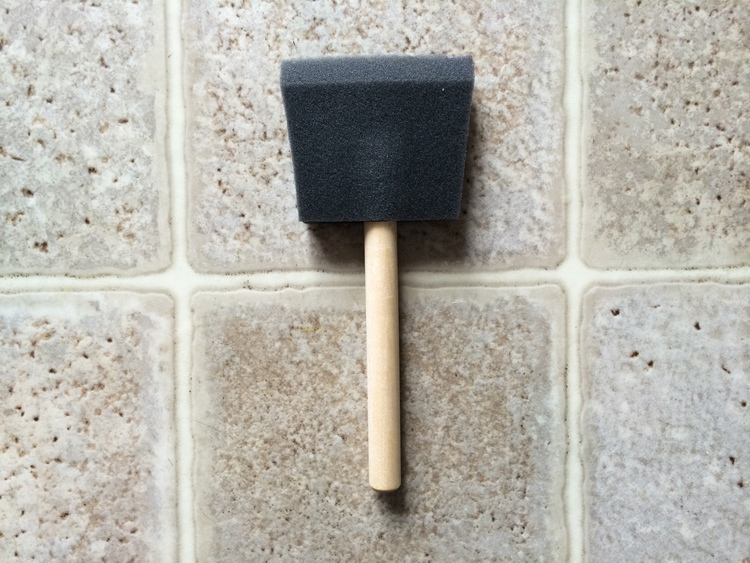
There are 3 things NOT listed here that you can use but don’t have to. The first is a sponge paint brush (picture of it is included). You can either use a paper towel OR the sponge brush to apply the gel to the negative. I’ve used both and both work fine. Also, Windex. It was recommended to me recently to clean the negative with windex near the final step to remove any leftover residue. I tested this out and while it does help a little its not a necessary step to be able to do this. And lastly, rubber gloves. Some people use them. I do not. I find they limit me to what I can do AND if you do this carefully you barely get any bleach on your hands at all.
Plexiglass.
This is what the 100C negatives get taped to. Its a piece of plexiglass I got from Ace Hardware. Its not expensive at all and it’s a bit safer than using regular glass. You can make it any size you’d like depending on how many pictures you want to bleach at one time. I bought a sheet from the store and split it in half. That should last me … forever.
Step 1:
Tape down ALL edges of the plexiglass to a hard and stable surface. This happens to be my kitchen floor. I use the Scotch Blue painters tape – usually the 1.5″ or 2″ kind.
Step 2:
Strip down the negative. On the left is the negative after peeling off the print. In the middle is the white part taken off. On the right is everything removed. You can either just rip it all off OR use scissors. I tend to use scissors to make it a more precise cut and cleaner product to work with.
Step 3:
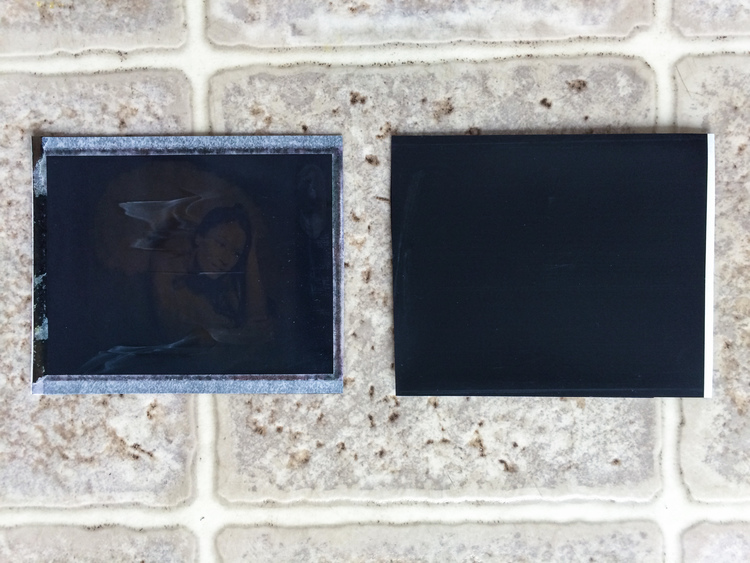
Determine your layout. As you can see I can easily fit 9 negatives on this piece of plexiglass. Sometimes I do 6 and sometimes I do 4. It depends on how many I have to bleach. The dark black side should be facing UP because this is the side you bleach. Bleaching removes the black coating to get to the full and usable negative.
The one on the right is correctly laid out. Thats the black backing you need to bleach off. If you bleach the negative on the left you will destroy it. Basically we need to bleach off the black coating to reach the “other side” of the negative.
Step 4:
Tape down the negatives on ALL sides. Do all sides because its safe and it keeps the bleach from getting under and ruining the image. Its better to be safe than sorry. I use the 2″ tape and rip off a piece and then split the 2″ tape down the middle into 1″ sections. It saves tape AND space on the surface. All 4 sides of all negatives are securely taped down. You don’t want to cover TOO much of the negative – just the sections that don’t have an image on them. Its about a 1/4″ of space around the image you have to work with.
This is where you would either get a paper towel OR use this painter’s sponge. Using this instead saves paper towels (you have to keep getting new ones) and makes the process a bit cleaner.
Step 5:
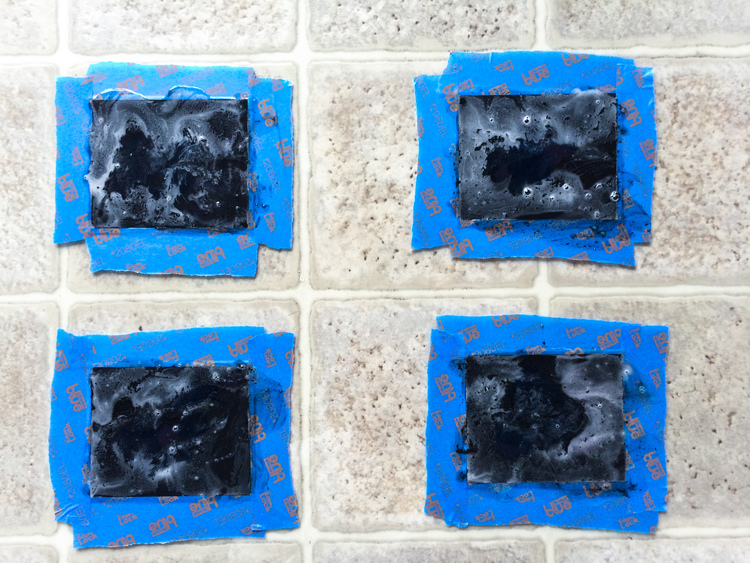
Apply the gel bleach. This is about how much gel bleach I put on each one. After doing a few you will learn how much to use. Sometimes you have to reapply it for a 2nd coat (which I’ll go over shortly). You don’t want to overdo this as you will waste the bleach and have too much to clean up. But too little will force you to do this step again. You will find the right amount where you can generally do this bleaching process in one shot. The bleach comes out semi-clear (it is a little cloudy). When it starts turning white like the top left image, its working. You want to put the bleach on one at a time until you get good at it.
Step 6:
Spread around the bleach using the brush OR small paper towel. This was done using the brush. There is a decent coat of bleach over the entire image. I let it stand about 10-20 seconds on this. It works pretty darn fast though but I wait a bit longer to make sure.
Step 7:
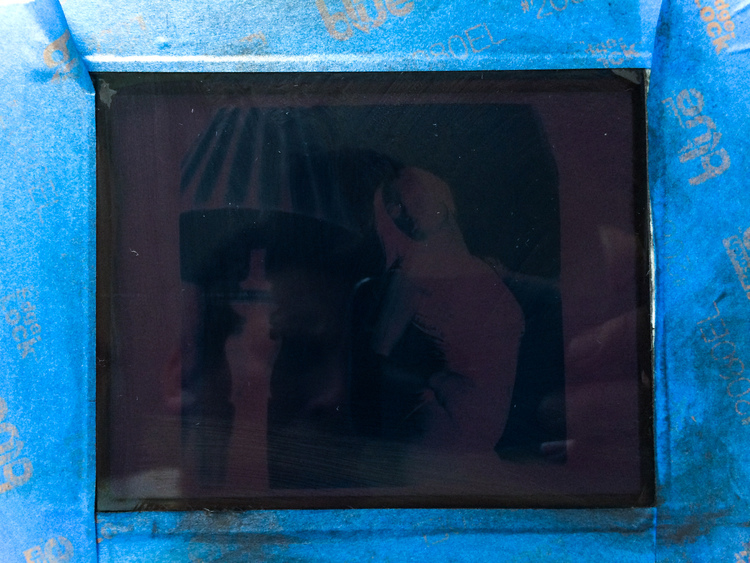
Clean off the bleach. After waiting, fold up a paper towel (I use a half sheet) and fold it up so its nice and thick. In a back and forth motion I sop up the bleach. You may have to use a 2nd paper towel if you are doing multiple negatives like this. If you are only doing 1 or 2 you should be good with just the 1 paper towel. Wipe up all the bleach – as much as you can. If you were fast enough applying the bleach and you spread it around evenly and quickly, you will be rewarded with having to do this step only once. I’ve gotten pretty good at it and can usually do it in 1 shot however, sometimes a 2nd small application of bleach is needed. If you look closely at your negatives you may see some of the black coating still present.
I tried to show some of that coating here. You can see it in the top right corner of the negative. You can see the black coating still there (its thicker). Its also present along the bottom edge. If this happens, its almost always around the edges because those are the last spots to get covered in bleach when you apply it. All you need to do is put a little more bleach on those specific spots .. wait a few seconds … and rub it off. 2 attempts always does the trick.
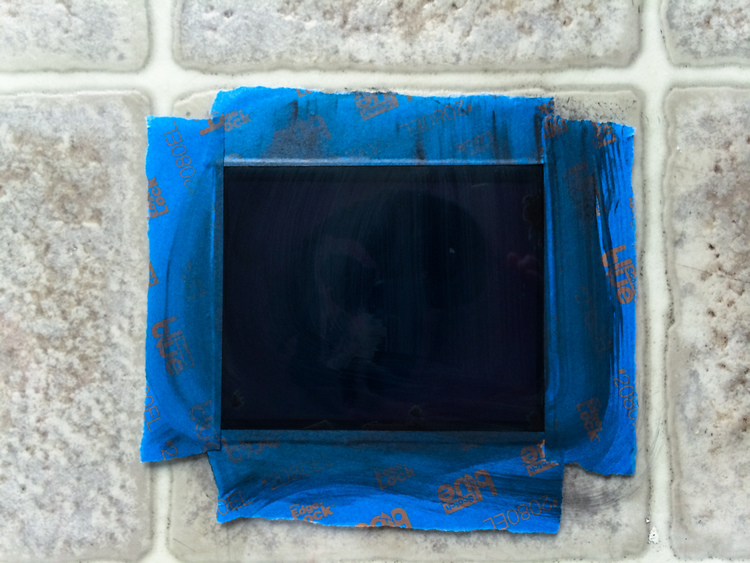
After you remove all the bleach with your paper towel – and do the 2nd coat if needed – you will end up with this (above). The black coating is now completely gone and you are left with being able to see through the image.
Step 8:
Remove the painter’s tape and remove the negative. Hold it up to the light and you can now clearly see you have a great negative. When removing the tape be a bit gentle. If there’s any bleach left over on the tape you don’t want to allow it to touch the other side of the negative. Be careful and you’ll be fine.
Step 9:
Fill a bowl (full) with lukewarm water. I’m sure cold water is fine but I like it warm since I put my hands in it. Once its filled, drop in your negative … or several if you’d like.
ADDED NOTE: You can also skip the bowl and go straight to a sink and do the following steps with running water instead. Because there may be bleach leftover on the negative after removing it from the plexiglass you do run the risk of getting bleach in the water and having it get on another negative. If you do a good job of removing the bleach and fill the bowl with plenty of water, this doesn’t happen. Test both versions out and see what you prefer.
Step 10:
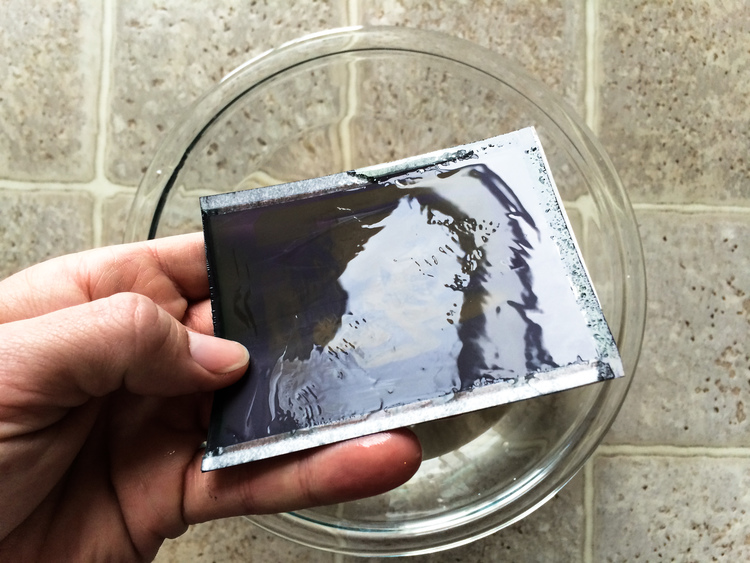
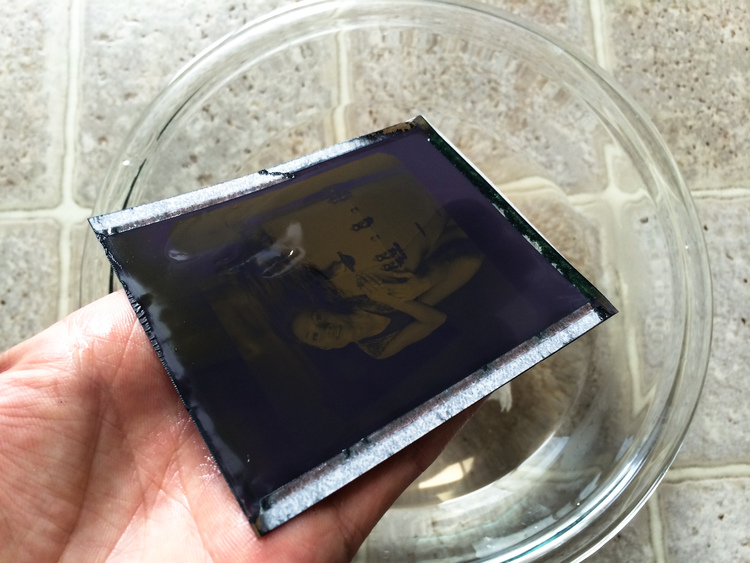
Take a paper towel and soak it in the warm water. Make sure its completely soaked before doing this step. Once its soaked, gently rub the paper towel over the side you just bleached – super lightly and just once – and ALSO the side that was face down on the plexiglass. That side of the negative still has remnants of the emulsion on it – and its a goopy material – that you want to remove. You will feel it right away if you rub your finger on it (NOT YOUR FINGERNAIL). You can be a bit more aggressive on this side with the wet paper towel but still keep in mind this is fragile. You will begin to feel the leftover emulsion coming off the negative. You may have to spend 30 seconds or so to remove it all. Remember, slow and steady wins the race.
I attempted to show the “goopy” material above. You can see there is a filmy layover over the negative. This is what you are removing.
This is what the negative looks like AFTER the emulsion (goop) was removed (much less shiny). The negative is clearly there now with no filmy residue over it. Your water will change color at this point from the residue – usually its a greenish colour.
Step 11:
At this point you have successfully bleached a 100c negative. Now to dry. I HIGHLY recommend hang drying them. They dry much faster, better and cleaner.
** There is now the WINDEX step which is completely optional. After they are dry for the most part you can take standard windex and do a cleaning of the back of the negative where you removed the black coating. You can ONLY windex that side. Do NOT windex the side where the emulsion was – you will strip the image and ruin the negative. A light windexing removes any excess residue you didn’t get when you cleaned it. If you choose to do this step please do it very carefully. After you windex it with a paper towel – or perhaps a microfiber cloth (haven’t tried that), dip it in water again to remove any cleaning material and hang dry again.
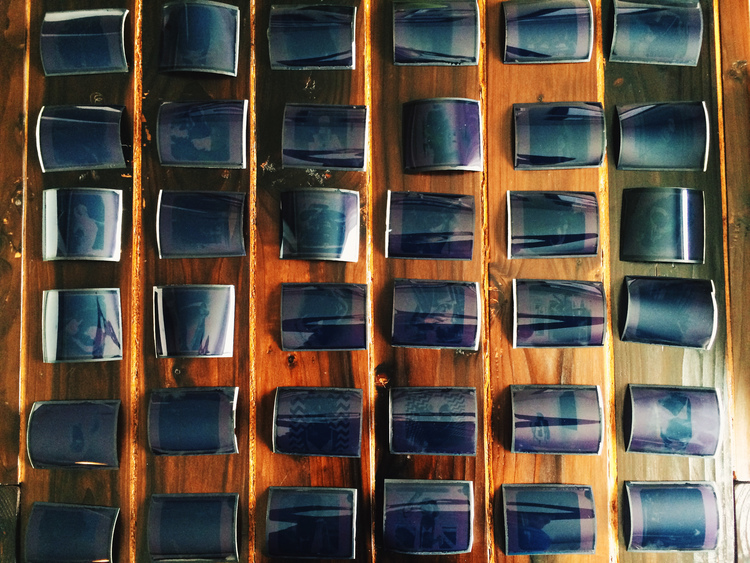
A successful morning of bleaching.
IF YOU NOW REPEAT THE PROCESS AND DO MORE BLEACHING BE SURE TO CLEAN OFF THE PLEXIGLASS PRIOR TO TAPING DOWN NEW NEGATIVES. YOU CAN CLEAN IT WITH WINDEX OR ANY SURFACE CLEANER. CLEAN AND DRY BEFORE TAPING DOWN NEW NEGATIVES.
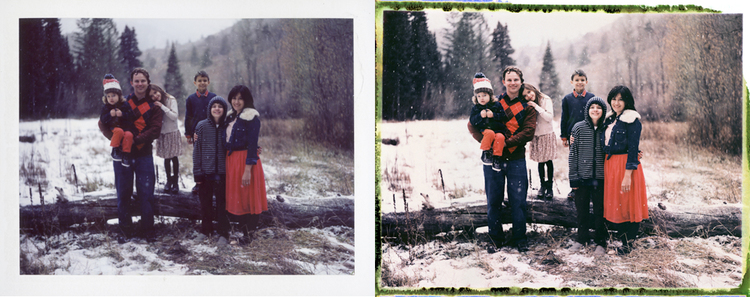
And finally, here’s a comparison of what bleaching can do. The image on the left is the print. The one on the right is the bleached negative. I recommend shooting 100C 1 stop under to achieve the best bleaching results. This is just my recommendation though.
NOTES:
The series of four images below is what will happen if you bleach a 3000b negatives. The black coating, which is identical to the 100c negative, is what you would bleach off. Removing that black coating reveals a completely unusable white portion of the 3000b negative. The actual image on the reverse side is still there however you can’t access it. If you attempted to bleach further you would break through the backing and destroy the image on the front. Therefore, when shooting with 3000b, all you need to do is let the negative dry and just scan that when you are ready. Just invert in post and you are done.
The article was first released on Snap It See It/Michael Ash Smith’s website. Michael Ash Smith has kindly adapted it for FND. Thank you Michael for sharing this with us!
Michael Ash Smith Personal Website
Images: © Michael Ash Smith All Rights Reserved
