[dropcap size=small]I[/dropcap] had been very interested in the Lumu ever since I first saw the video on Kickstarter. Tools like this that bridge the gap between analogue and digital seem to get me very excited, everybody presumes that because your pro film means that your also a technophobe, which simply isn’t the case.
Back to the Lumu, and before I fully sink my teeth into it, we would like to congratulate Lumu themselves on a great idea and amazing execution, the project, funded through kickstarter, managed to exceed its $20,000 goal by a whopping $224,000! Which shows there really is demand for people re-thinking useful technologies of the past and re-working them for the future.
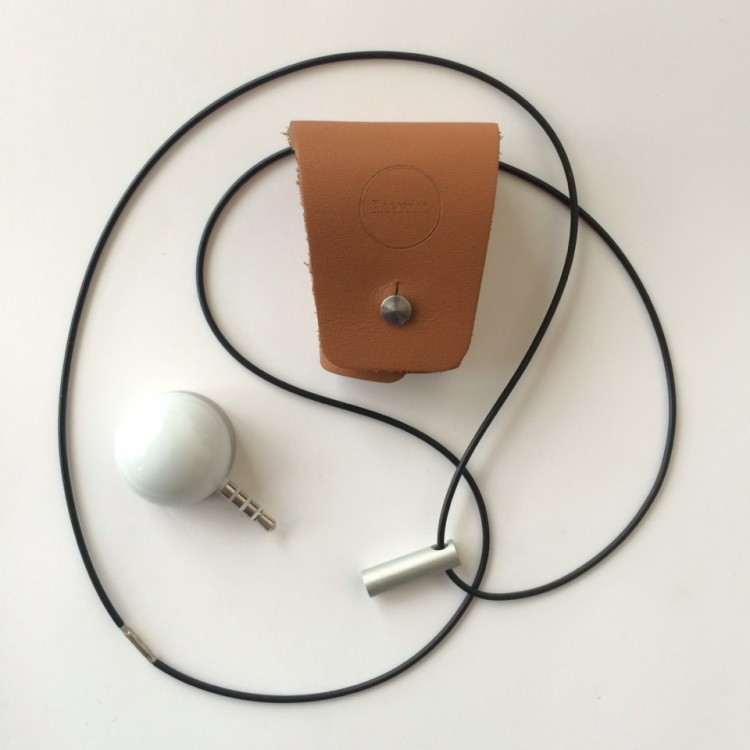
The first impression of the Lumu is that, it’s definitely the ‘sexiest’ light meter I’ve ever used, that you can buy in either black and silver. Excitement hit me as soon as the parcel had arrived, and once it was out of the envelope, it all made sense. Once you take the lid off the tin that houses the meter, your struck with a very similar experience to that of opening the iPhone itself.Every care has been taken to make this not only easy, but also a pleasure to use. The Lumu is small and simple, it isn’t until this baby meets your phone that it comes into it’s own. Inside the tin, alongside the Lumu, you get a great little leather case which is designed to sit on your camera strap so it’s always handy. If that isn’t enough and if your accustomed to the usual white Lumisphere hanging around your neck, it also comes with a neck strap, it’s good to note that this only holds the Lumisphere on it’s own, it doesn’t accommodate the phone as well, which is ok, but it seems to limit the functionality of the neck strap to that of a fashion accessory, that being said it’s still very useful to have the Lumisphere at hand.
After using the Lumu for a week I can say it works perfectly for everyday use, I have tested it against a range of meters and its readings fall completely inline with the others. It truly is a ‘proper’ light meter. I think one of my favourite things about the Lumu is that it’s generally a joy to use, its put a little more magic into metering light.
[column size=one_quarter position=first ]
[/column]
[column size=one_quarter position=middle ]
[/column]
[column size=one_quarter position=middle ]
[/column]
[column size=one_quarter position=last ]
[/column]
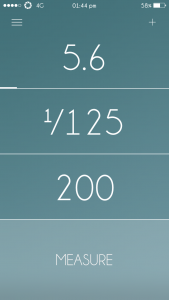
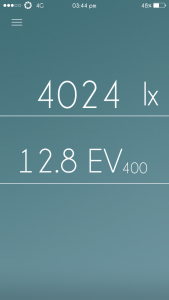
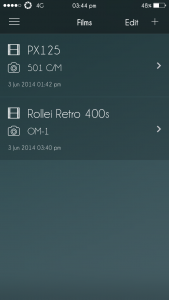
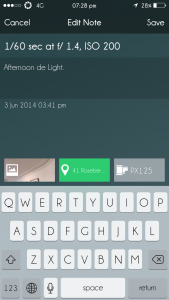
Above you can see the main photo metering screen (1st image). Starting from the top and working down, you have aperture, shutter speed, and last but not least your ISO. To meter prioritising the shutter speed you simply tap the shutter speed and click measure. The correct aperture will then correspond with your chosen shutter speed. A swipe to the left or right on the shutter speed will change the aperture accordingly. This process can then be repeated using Aperture priority or you can also lock the shutter speed and aperture, metering only the ISO .
Something I particularly enjoyed about this, and somewhere I’ve found it fits very nicely into my workflow is the ability to meter for the ISO. I know initially this sounds odd, but as an example, if I’m scouting an indoor location without flash and trying to work out which film/lenses/body/tripod etc… It’s quite handy being able to walk around with my ideal shutter speed and aperture within the top 2 boxes and then metering which ISO is best for the both of them, obviously this seems pretty minor but on a lot of other meters it would be quite fiddly and can be useful when figuring out which film or push/pull is needed.
[highlight color=#000 ]Lumu Pinhole[/highlight]
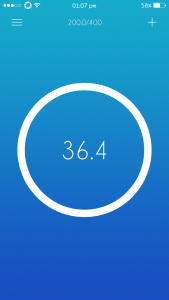
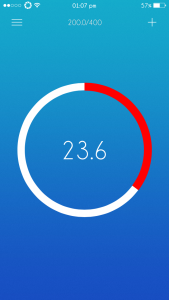
As if I wasn’t blown away by this little puppy already, its just revealed to me it has some more tricks up it’s sleeve. Something which almost eclipses it original intended purpose, in fact I didn’t know about it at all until I went on the app store and saw it there staring at me. Introducing Lumu Pinhole, this is a seperate app which packs alot of punch. As the name suggests, it enables you to meter for pinhole photographs, which strips away the long mathematical equations I see most pinhole photographers scribbling down. The app itself seems to be a streamlined version of the original Lumu app. With this all you need to do is set the size of your pinhole (its corresponding f/ stop) and your ISO. Once this has been done, you simply tap outside of the circle to meter, the time of your exposure then appears inside of the circle. Then simply tap the time, and the countdown of your exposure begins. Couldn’t be simpler. They really have turned Good to Great with the addition of this secondary app. Im yet to try myself, but I have a sneaky suspicion this could also be used when shooting with alot of alternative processes. Happy Days!
[column size=one_third position=first ]
[/column]
[column size=one_third position=middle ]
[/column]
[column size=one_third position=last ]
[/column]
To conclude on the Lumu I couldn’t recommend it enough, obviously if you work mostly with flash, this won’t be the meter for you as it is missing a flash sync (something for Lumu mark 2 perhaps?!?!?) But if, like me, you work with natural light and you want a simple to use and easy to carry meter, this appears to be the one! Especially when you consider what your actually getting for such a low price.

